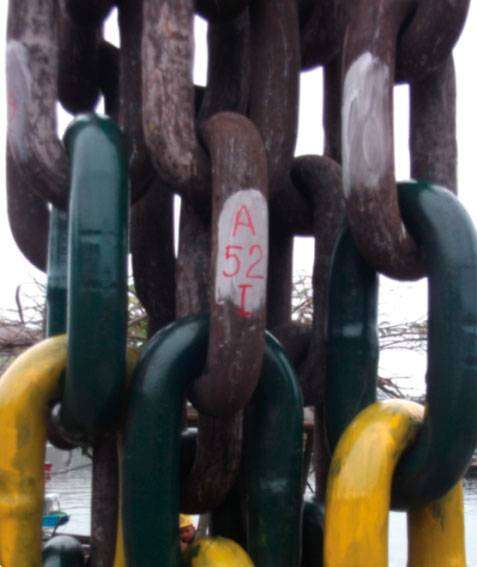
During the manufacturing process, the dimensional verification is performed (width, length, weld, curve and 5 links)
After manufacturing, the links are inspected on the following items: Visual (verification of imperfections, which can be corrected with grinding without losing the specified diameter), Magnetic particle (if there are surface cracks) and Ultrasound (if there are internal discontinuities).

3 production machines ranging from 70 to 120 mm R3 - R4S:
- I5, 70 - 120 mm.
- I8, 70 - 120 mm.
- I9, 86 - 120 mm

Four arms carrousel continuous production system.

Induction heating.

Welding control CITR system.

Using Qweld for parameter control, in progress actions to turn it 100% operative in the 3 machines.

M5, M8 and M9 equipped with inspection towers for conventional UT and MT.
Heat treatment, proof load and final inspection
Heat treatment
Single quenching and tempering furnace with common cooling pool
Diameter Range from 70 to 120 mm
Basic control system for temperatures and speeds
Proof load
1500 Tn proof Load Machine
Ruler for measurement, manually recorded
Final inspection
Double inspection tower using UT/PA and fluorescent MT


